
We’ve got a secret. We like big bandwidth and we cannot lie.
But seriously, you often never know what you’ve got until it’s gone. This happened to us with bandwidth. In a matter of months, we got rid of our cable, moved exclusively to using on-line providers like Aman Prime and their Fire TV stick, and we also said goodbye to our landline phones. All of this means our 2.4 GHz wasn’t carrying us quite a far as it used to.
A few months ago, we did a post on repurposes old routers (you can read about that and see the video here). While we’re always in favor of reduce, reuse, recycle whenever possible it was time for an upgrade. But what to install in its place. In our usual style, we decided to outline why we needed to upgrade our router in the first place.
The Facts
- With only 2.4 GHz It was taking forever to transfer files. Many computers, like Steph’s Macbook, don’t have an Ethernet port.
- Streaming video on a Fire TV stick combined with the WI-FI draw from our phones and tablets had resulted in too much buffering.
- Finally, we discovered that all of these devices we’re clashing with not only our neighbors’ WI-FI but also our new, cool Bluetooth headphones.
With everything laid out on the table, we had made our decision. We were moving to a 5GHz router.
The Wish List
- A dual-band router. Running all devices on 5GHz is ideal, but not all equipment is compatible with that frequency. With a dual-band router, we’d not only have 5GHz, but 2.4GHz for our equipment that couldn’t handle the increased speed.
- A wireless access point—not an all-in-one router. We already had a dedicated router in place that Aaron had built that handled the routing function we need. Also, all-in-one routers are typically weaker because they serve multiple purposes. By going with a wireless access point, we could choose one device that performed one job exceptionally well, versus another device that performed multiple jobs at an average rate.
- An unobtrusive solution. Our house was built in the 60s. There aren’t a ton of extra outlets, which means Steph had a router sitting on her nightstand for a year. She hated it. We needed a router option that we could install out of the way that would still cover all of the rooms in our unopen floor plan.
Our Choice
After an extensive search, we decided to go with a wireless access point from Ubiquiti Networks Unifi. Aaron saw this on Linus Tech Tips a while back and though it well worth looking into.
https://www.amazon.com/gp/product/B015PRO512/ref=as_li_tl?ie=UTF8&tag=httpwwwste023-20&camp=1789&creative=9325&linkCode=as2&creativeASIN=B015PRO512&linkId=694b783fdd0b9f4b2f6a4a9eadcef72a
Here are a few important points about this unit.
- It’s NOT a wireless router. It’s an access point. That means it has one job to do.
- It requires an Ethernet connection to our home network.
- It also requires a computer to run the configuration app in. Windows, OS X, or Linux.
They were a little more money than most of us might be used to spending on a router, but if you’re going to pay for fast Internet, it makes sense to use it to its fullest.
How It Went Down
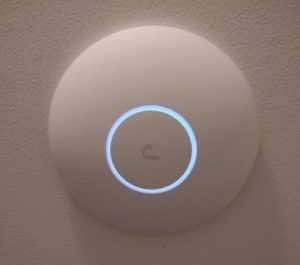
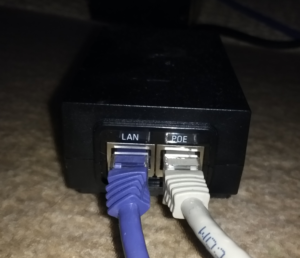
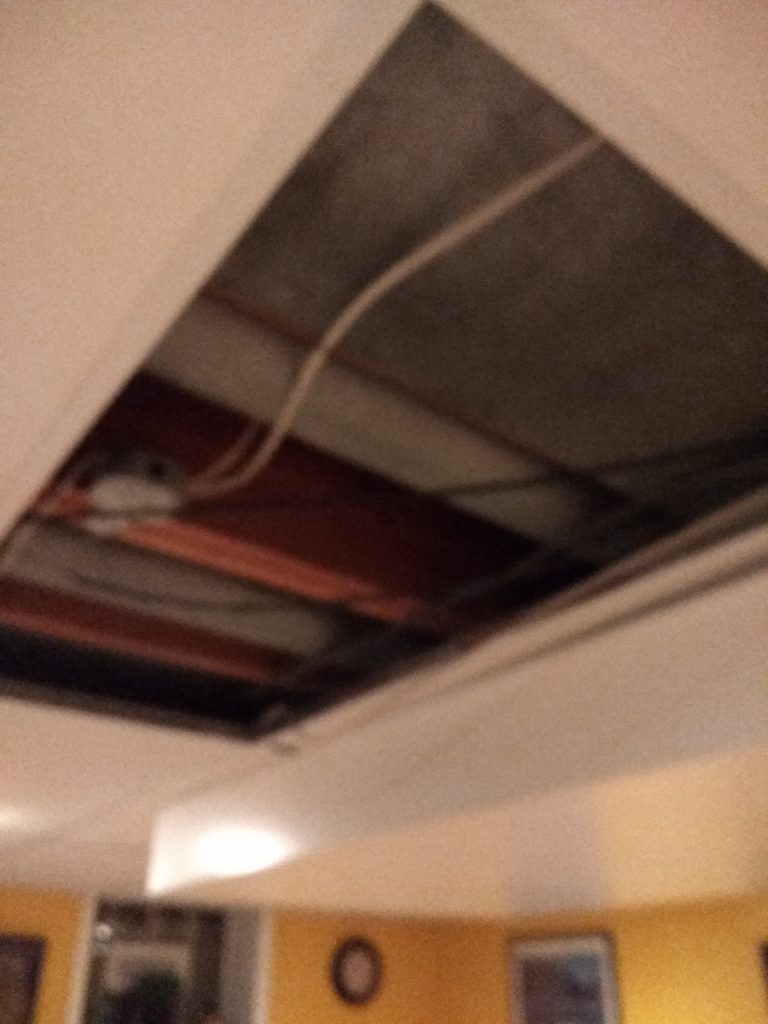
At first blush, these are flippin’ sweet. They look very futuristic. They also use a new-us-technology called POE—Power Over Ethernet. This means that the Wireless Access Point (WAP) gets its data and power over one cable. Aaron installed the POE adapter that came with the WAP in his office. It powers the device from two floors away. How cool is that?
|
|
|
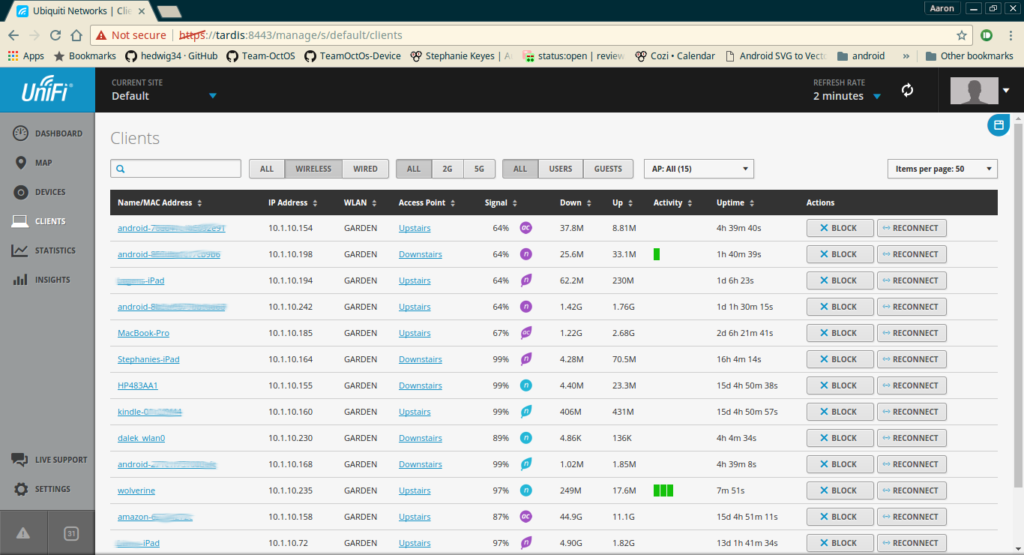
The first place we mounted it was in a central location in the house. The necessary software, UniFi Controller, did not come in the box, instead, we followed the directions to download the files. From there, Aaron ran the install and set up the new router under a different name. He did this on purpose in order to be able to analyze the new WAPs signal strength.
How did we determine just how powerful our wireless signal was? We used an Android app called WIFI Analyzer.
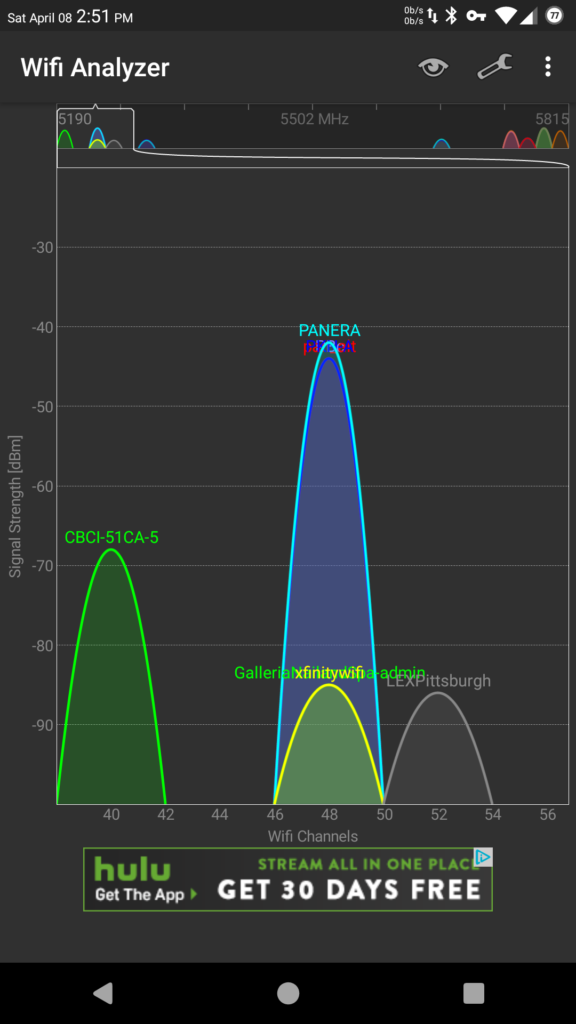
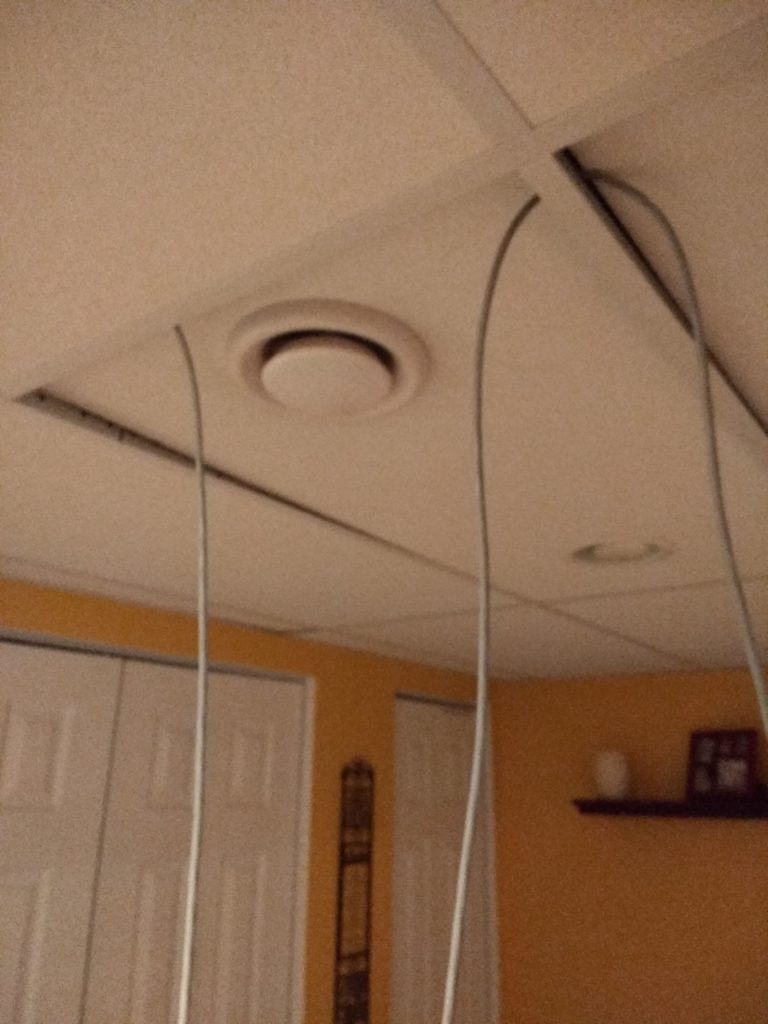
The signal was strong everywhere but in Steph’s office. That just wouldn’t do. So we decided to go all in an get a second one. We installed this downstairs, outside of her space. We found it also supported Aaron’s office as well.
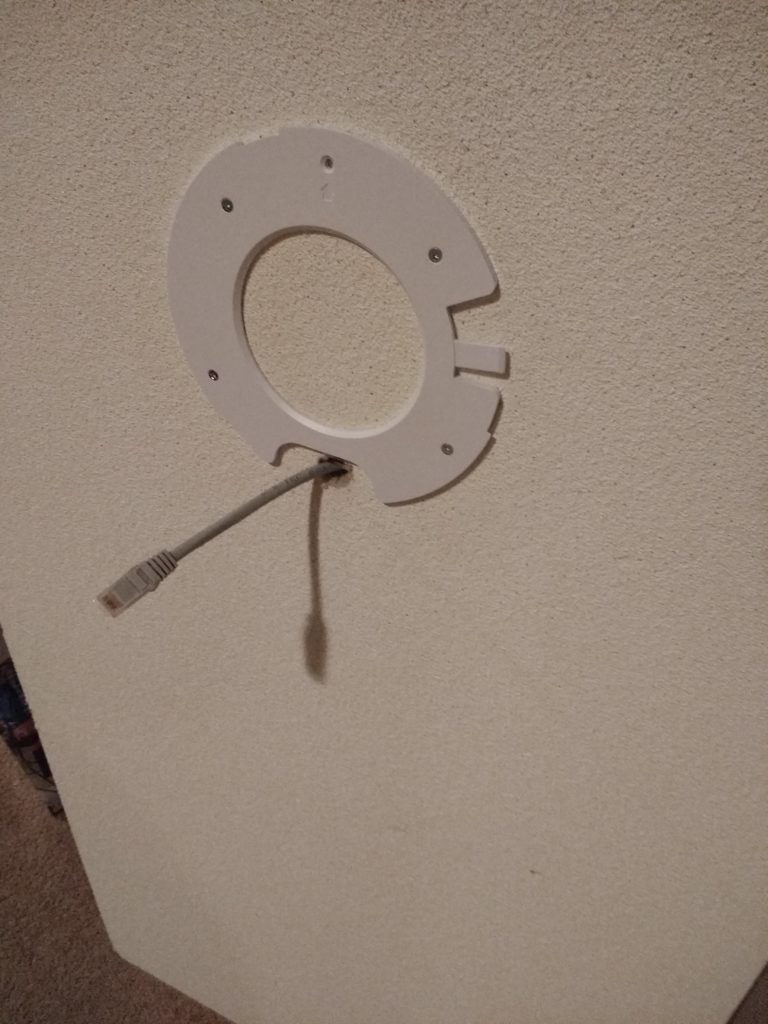
The unit came with all of the materials needed for mounting. Including a special plate for drop celings. Once you run the cable, installing the unit was as simple as screwing in the mount and attaching the unit.
|
|
|
|
Now, we have super-strong 5GHz WIFI throughout the house and Aaron can watch Kitten videos on YouTube without buffering. (Steph’s allergic.)
Recent Comments